< Previous Article Next Article >
Visual Designer Basics
The Rich Display Visual Designer is an intuitive drag-and-drop tool for building user interfaces. To start the Visual Designer, open an existing Rich Display JSON file from the Files tree or select New => Rich Display.
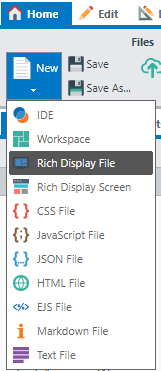
Below are some of the major components of the Visual Designer.
Widgets
You can find various widgets on the left side of the Visual Designer under the Widget Sets and the All Widgets tabs.
A widget is a graphical user interface element, such as a button or a textbox. In Profound.js Spaces, you can quickly create an instance of a widget simply by dragging it and dropping it onto the canvas area.
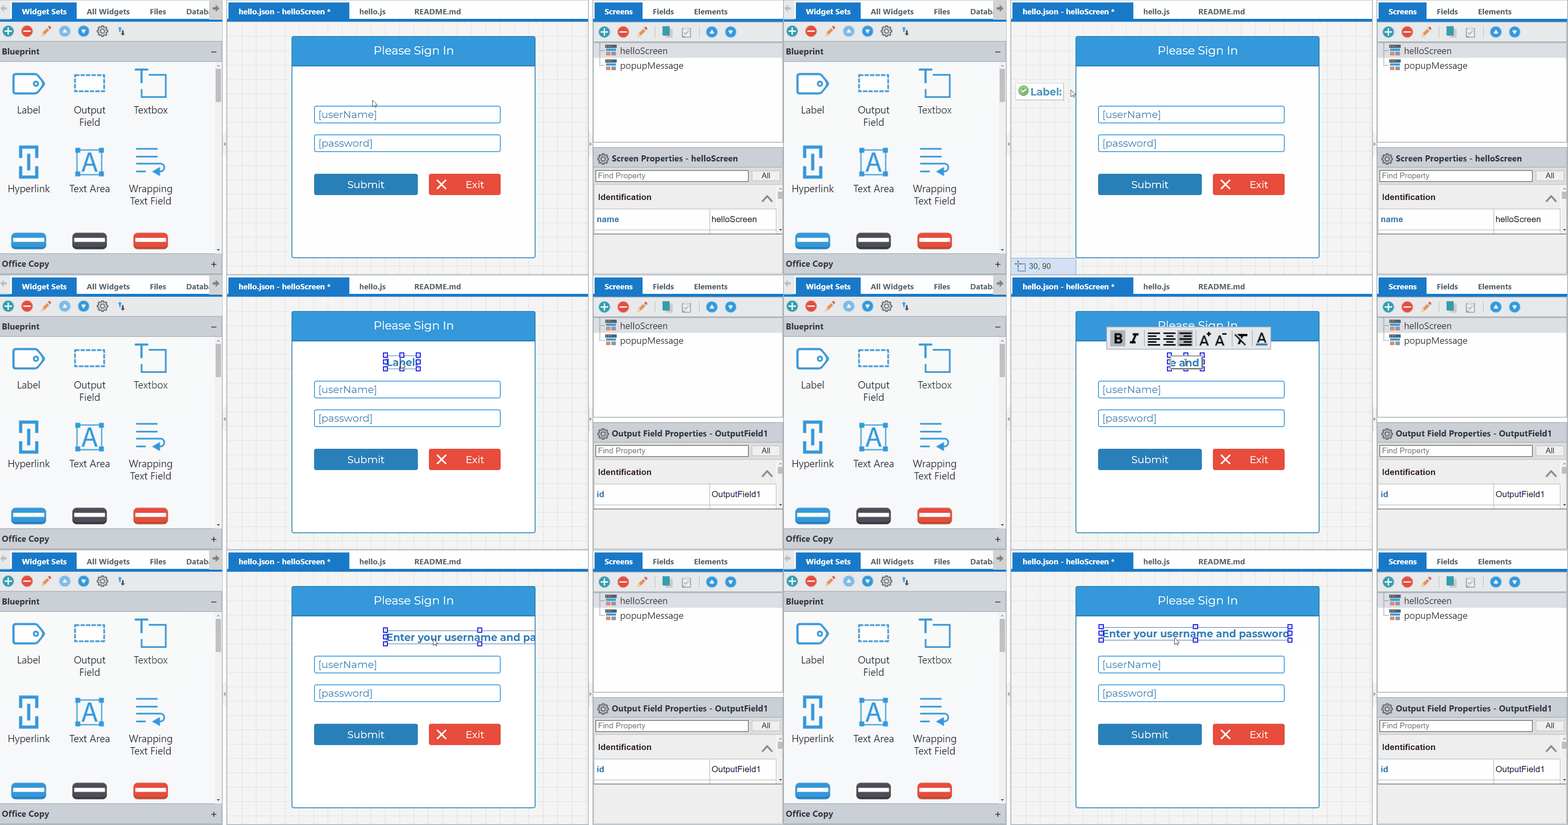
You can move a widget around the canvas with your mouse or double-click it to initiate inline editing of text within a widget.
Properties
Once a widget is placed onto the canvas and selected, a list of its properties will appear in the Properties Window on the right side. This is where you can adjust the behavior and the look-and-feel of the selected widget.
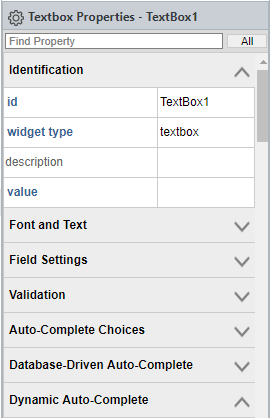
Common properties include:
value- sets the intial value of an elementcss class- allows you to control the look and feel of an element by selecting a CSS class from a loaded style sheeticon- for certain types of widgets, like buttons, allows you to select a Font Awesome or a Material Design icon
Searching Properties
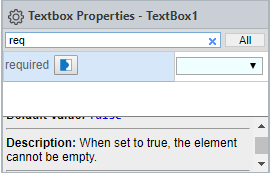
Typically, a widget will have many other properties. But don't worry, properties are split into convenient categories and are also searchable. Once you find a specific property, context-senstive help text appears at the bottom of the Properties Window.
Searching Categories
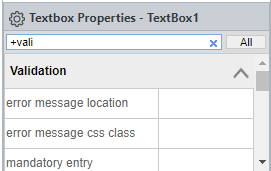
To search by category, enter a plus sign before the search term.
Set Properties
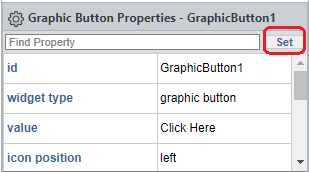
A property that is set will be shown in bold text. You can toggle between viewing All properties and Set properties by using the button to the right of the Find Property box.
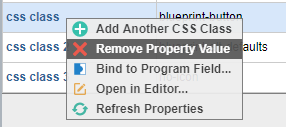
To unset or remove a property, right-click it and select Remove Property Value.
Screen Properties
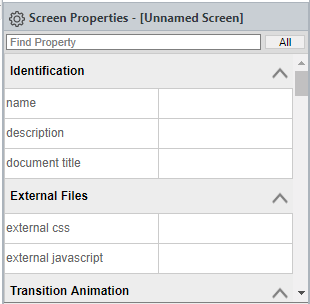
Clicking on the canvas rather than a specific widget allows you to control screen-level properties.
Binding
Binding is a concept that allows you to tie property values to dynamic variables, therefore enabling client-side JavaScript, server-side Node.js code, or Low-code business logic to control the user interface.
When you select a property in the Properties Window, a binding button will appear near the property name if that property supports binding.
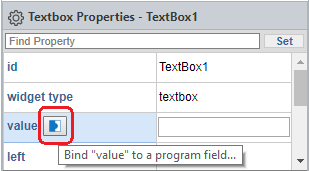
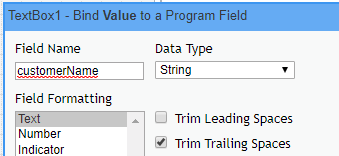
Click the button to bring up the Binding Dialog. You can then type a field or variable name, select a data type, and specify formatting options.
Screens, Fields, and Elements
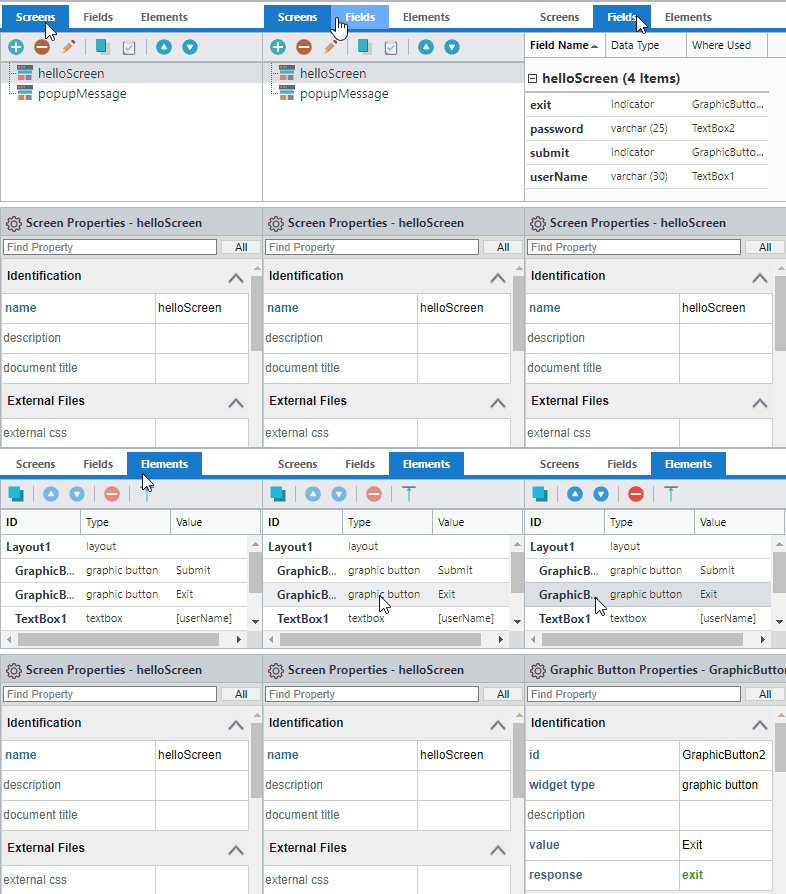
The right side of the Visual Designer shows the Screens, Fields, and Elements tabs.
Screens
Display files are organized into screens. A screen can represent an entire Web page or just a small individual component when using frameworks like React or Vue. You can add, remove, and name screens on the Screens tab.
Fields
The Fields tab shows a listing of all fields bound to elements on the current screen, and where each field is used.
Elements
The Elements tab shows a list of all widget elements on the current screen. Clicking any element will select it inside the Visual Designer.
Widget Sets
The Visual Designer includes the capability to group and save widgets into customizable sets. The widget sets panel can be found on the left side of the Designer.
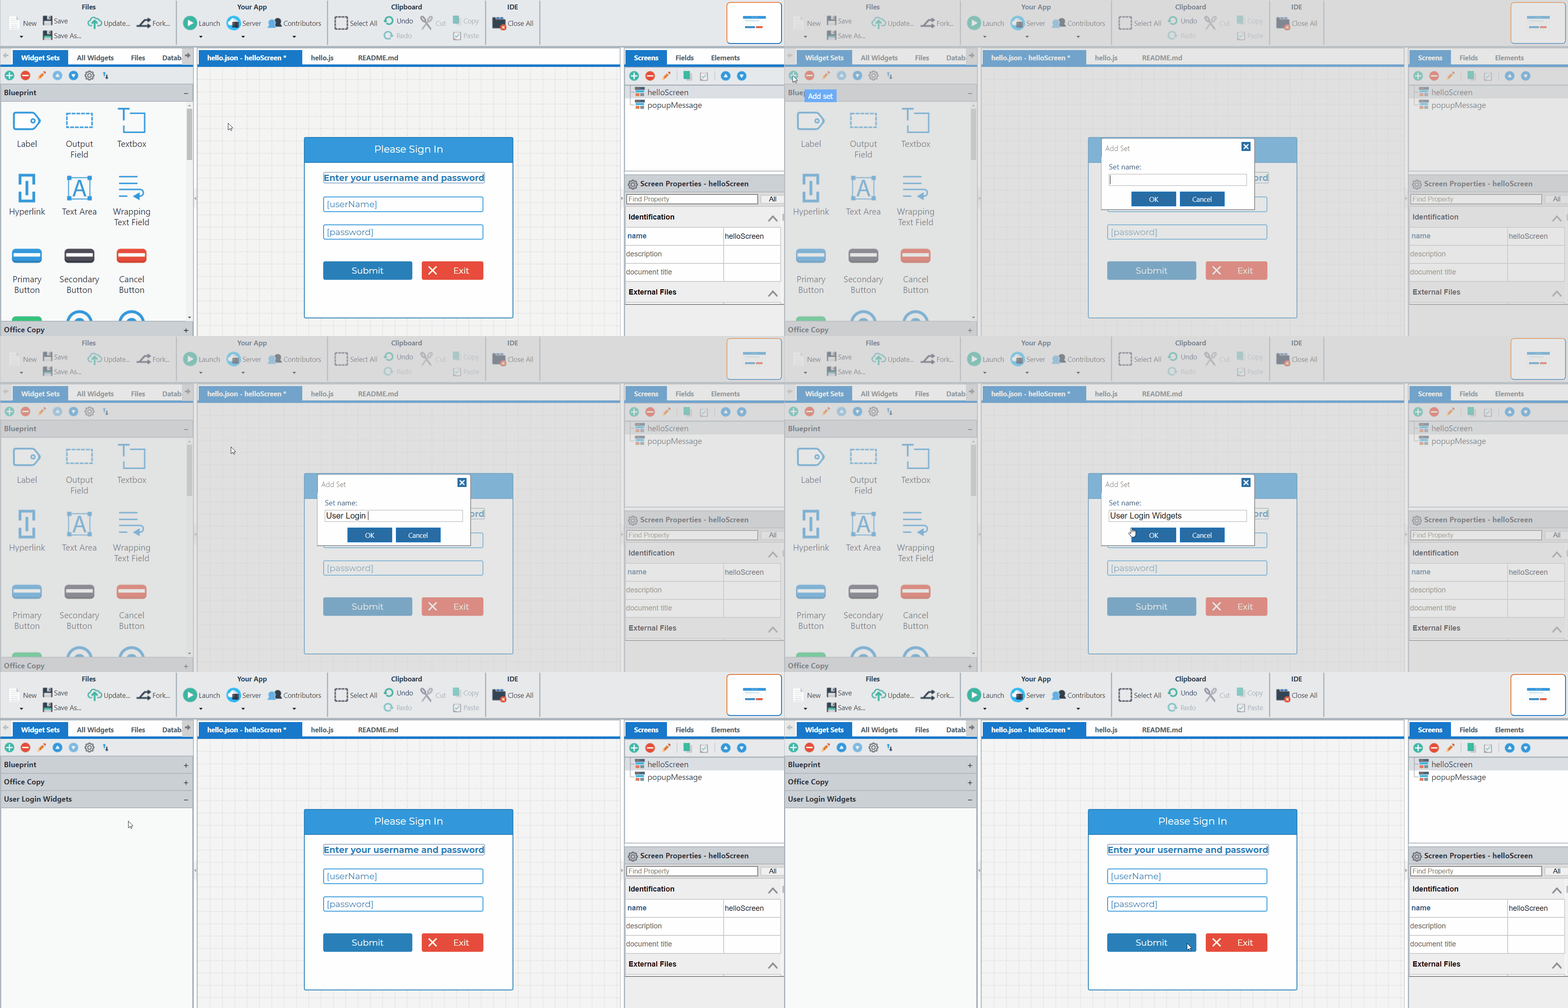
To create a new Widget Set, just click the Add Set button on the panel toolbar and then name your set.
You can customize any existing widget using the Properties Window and then add it to a set by right-clicking the widget and selecting Add to Set.
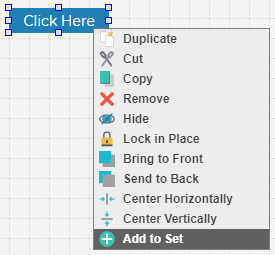
You can also right-click any widget within the set to rename it, delete it from the set, or customize its icon.
To permanently save Widget Set changes to your workspace, use the Publish button.
Questions?
Have questions about this topic? Ask for help on our Profound.js Spaces Discussion Forum.