Inventory System
About This Space
A low-code Inventory System
Last updated on April 25, 2021
Forked from: /joe.aliling/low-code-inventory-system-1.0/
Public Permissions: View Open/Fork Run Comment
Inventory Management System
This demo project is a complete Inventory Management System, which illustrates the capabilities of Profound.js. It illustrates the ability to implement intricate web apps with zero or minimal code. The application can be used as a template to quickly get you started in building an Inventory System.
The system is comprised of two major parts. One is a portal for the Inventory Manager and another for the Agents.
Inventory Manager
The Inventory Manager portions of the project were mostly created using the Profound.js CRUD App Generator feature, where most of the UI and fucntionality is automatically built for you.
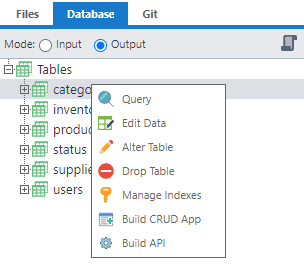
With this feature, once a database table is created, you can immediately generate CRUD screens and logic - all done with just a couple of clicks. The screens can still be customized for aesthetics and functionality after they are generated.
Database Design
With Profound.js, database connectivity from your application is inherent. It is a simple matter of designing your application's database tables. You can then link related tables through drag-and-drop and point-and-click capabilities, and link the data to your application.
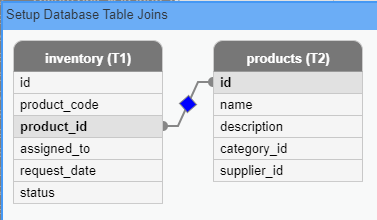
Related Tables
One of the handy features in Profound.js is its intelligent presentation of related tables. For example, the Products Grid is implemented using 3 tables, Products, Category and Supplier. Profound.js automatically matches the fields selected from the database query step (Fig. A) and outputs them into their designated columns on the grid (just make sure the field names on the grid perfectly match the fields from your query).

(Fig. A) Below is the database query step to show all records from the Products table and its related tables, Categories and Suppliers.
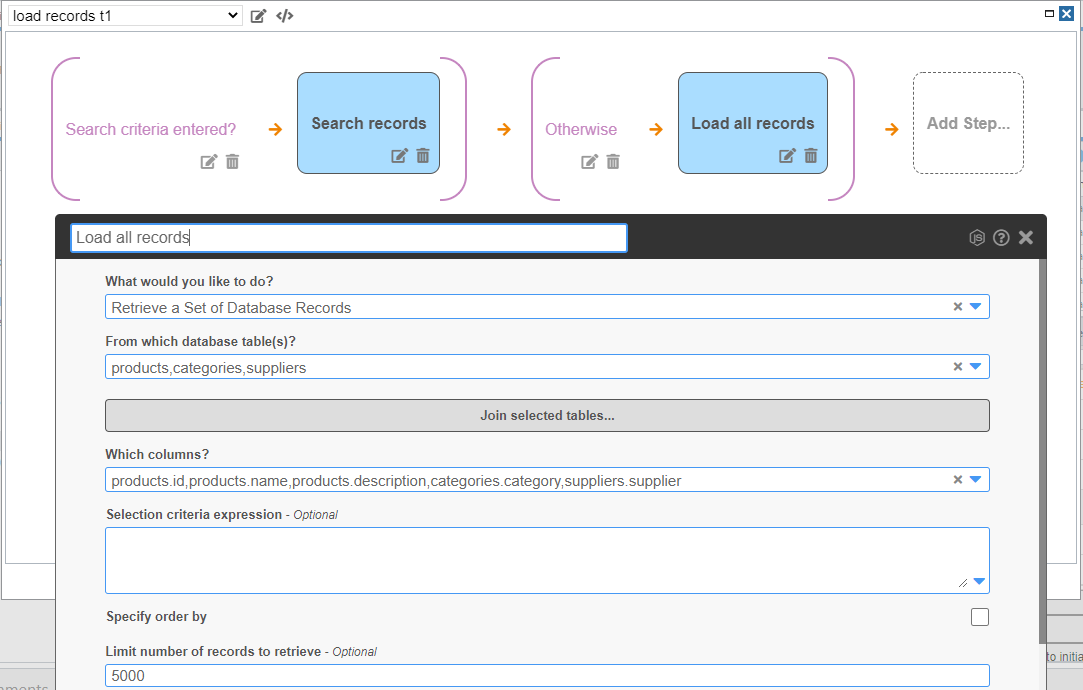
Notice the Which columns dropdown shows the selected fields for the query and are perfectly matched to the fields on the Products grid. This is all done without any coding; whereas traditionally, functionality like this would require a lot of code.
In this demo, the common functions of the generated CRUD page for the Products table are fully implemented. The search bar below, for example, functions the way you would expect.
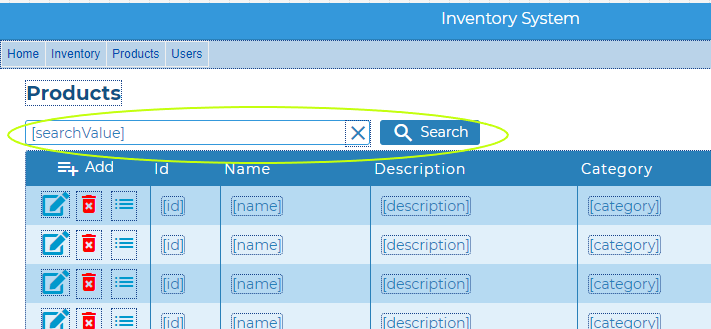
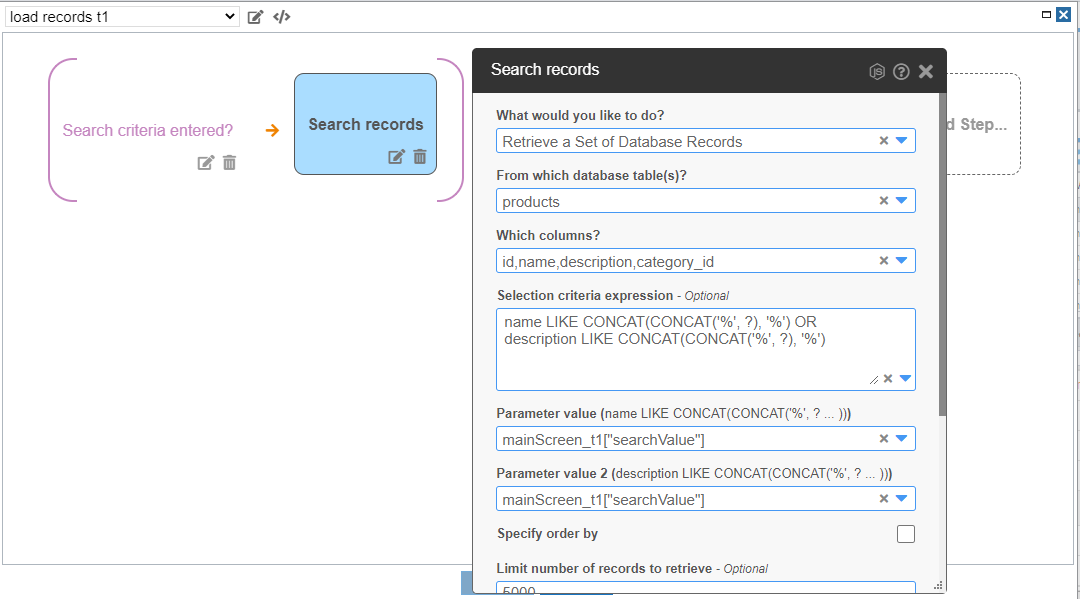
The search routine is typically already setup for you by Profound.js and you can customize the query accordingly. The Database query step below has been modified to include the name and description as part of the search criteria.
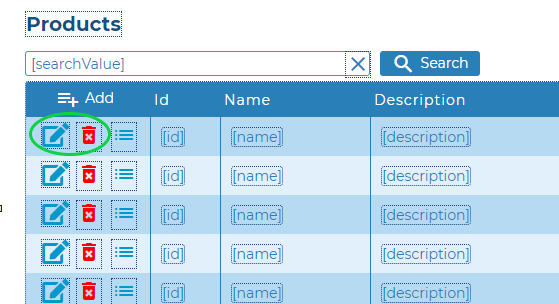
Icons to edit and delete records are also functional.
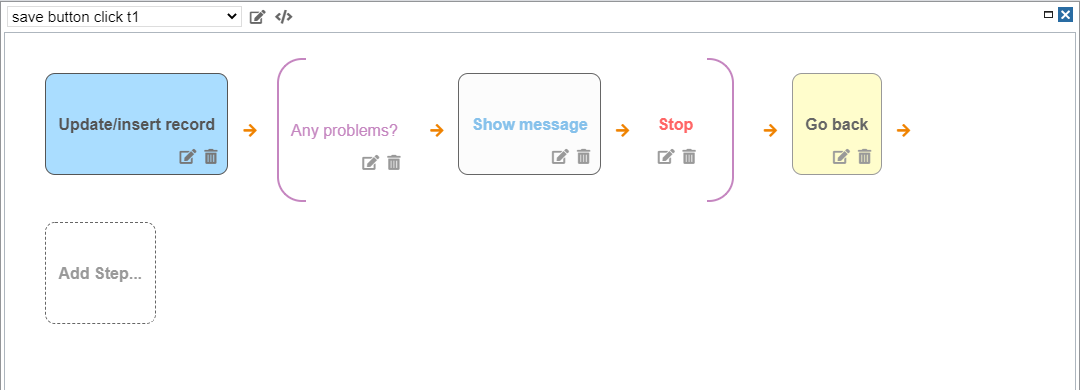
The routine that handles the insert and update records are defined for you using low code steps.
One of the forms generated from by CRUD app generator is the Add/Edit form. It was modified a bit to show the names of the Category and Supplier instead of their numerical IDs.
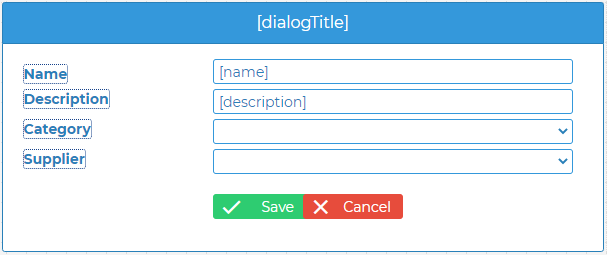
To accomplish this, the Select Box Properties were used for the Category dropdown box to configure it to show the corresponding names of the available Categories for the product.
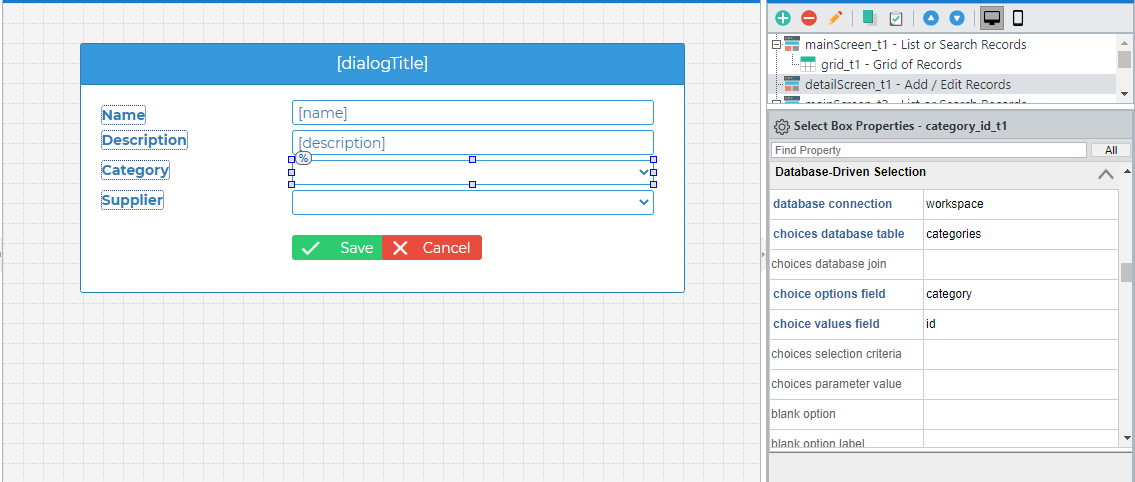
The important properties that need to be changed are the database connections, choices database table,
choice options field and choice values field.
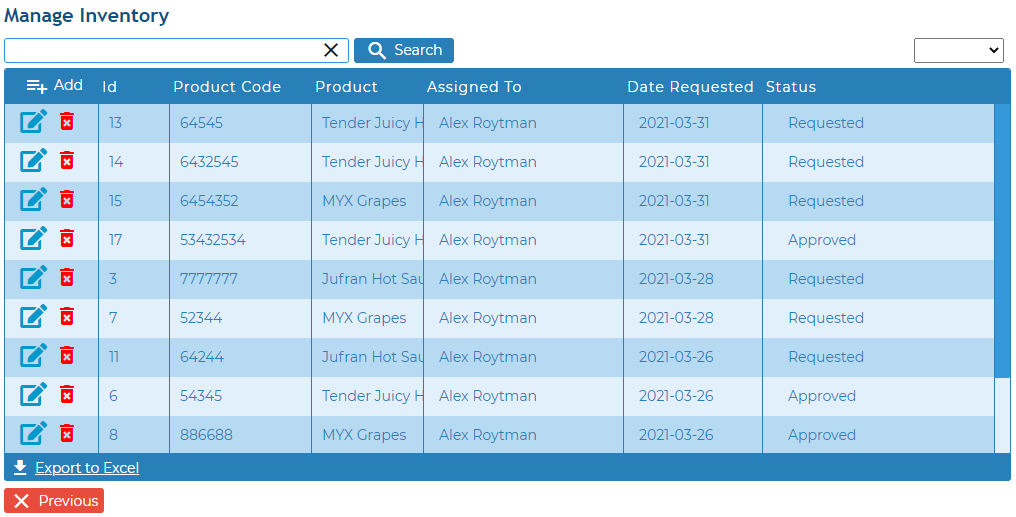
The core of the Inventory Manager part of the system is the Manage Inventory screen as it carries
several levels of details in implementing the business process for this project. The functions
involved in this module are the following:
- Inventory CRUD (create, read, update and delete record functions)
- Assignment of Inventory to an agent
- Change status of a product request
End-User Guide
This section provides end-user instructions for each module of the Inventory System. There are two types of users of the system.
- Administrator Account
- The administrator account is the highest-privileged user which is used to perform important functions in the system.
- Agent Account
- The Agent's account is for users, such as retailers or dealers, who would like to maintain product stock information.
Administrator Screens
Products
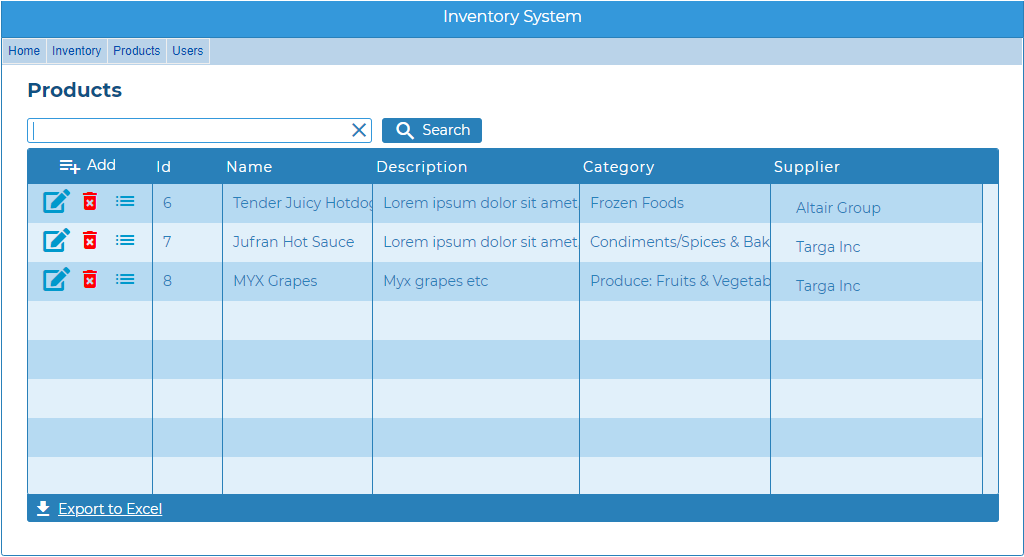
Managing products can be done on this screen. There are several functions that can be performed on this screen:
- Add new product
- Edit existing product
- Delete product
- Record search (search by Name and Description)
Categories
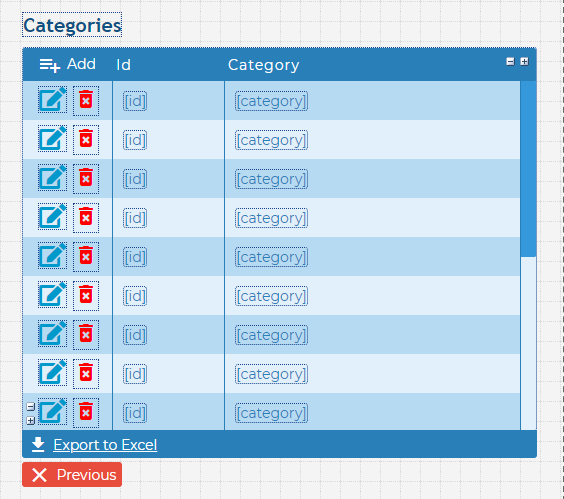
Products belong to categories, and using this screen you can add, edit and delete categories.
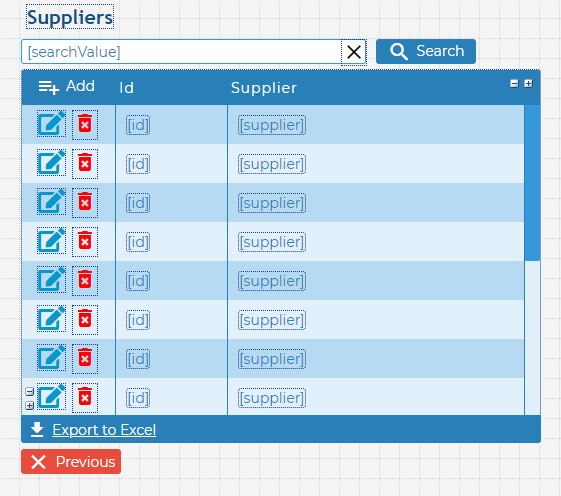
Suppliers
Each product has a designated supplier. The Suppliers screen handles the record management for product suppliers.
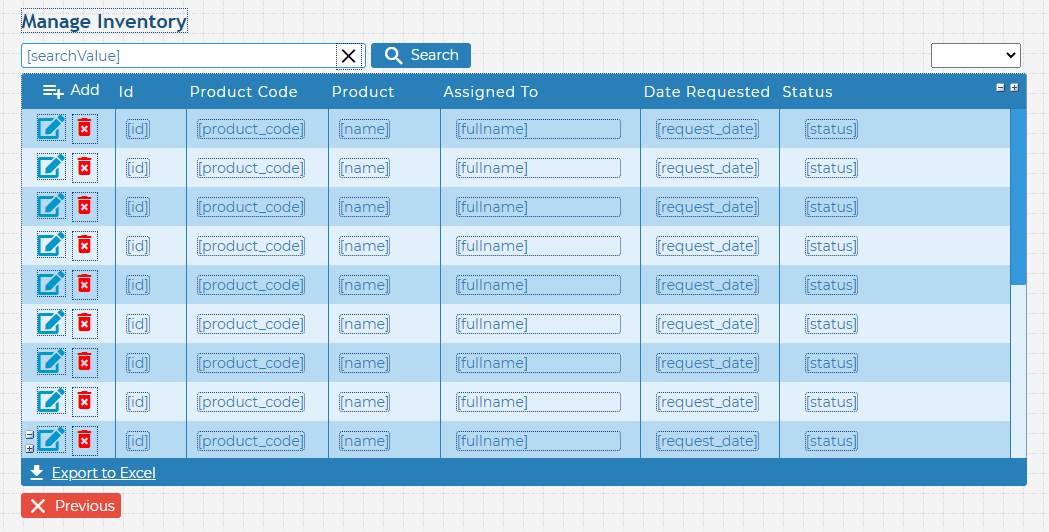
Manage Inventory
The Manage Inventory screen includes the essential functions of
the Inventory system. This is where you can assign inventory to
an agent or change inventory status. There are three statuses defined in the
system. They are:
- Pending - when an inventory is marked with a 'Pending' status, it denotes that a product is available.
- Requested - this status marks an inventory as 'requested' which implies that an agent is requesting for product replenishment.
- Approved - when a inventory is assigned to an agent and marked approved, it signifies that the inventory is made available to that particular agent.
The basic operations (add, edit and delete) on a record can all be performed here on this screen.
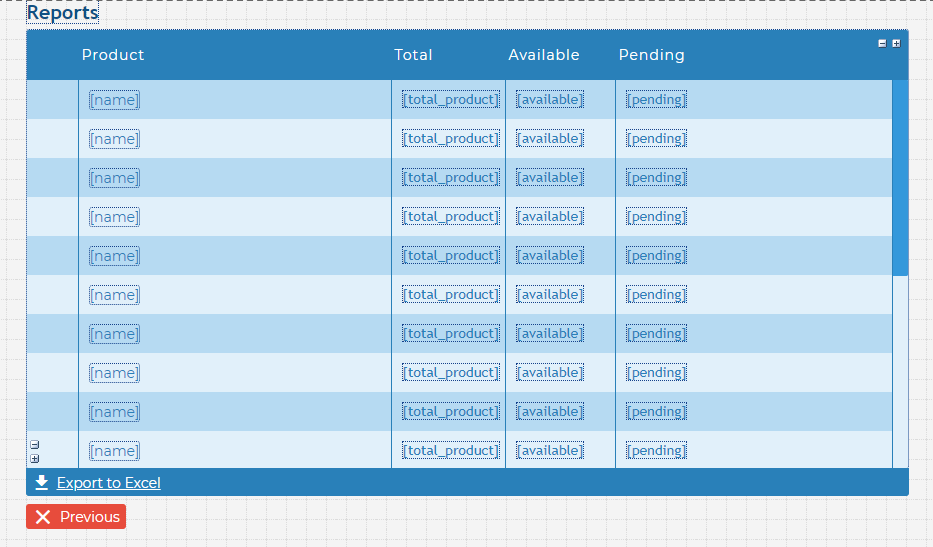
Reports
The Reports screen gives a simple summary of the product statistics. It shows the current products in the system and their corresponding information (total, available, pending).
- Total - numerical value which signifies the number of products in circulation
- Available - the value which represents the number of the products that can be assigned to agents
- Pending - shows the number of pending requests from the agents
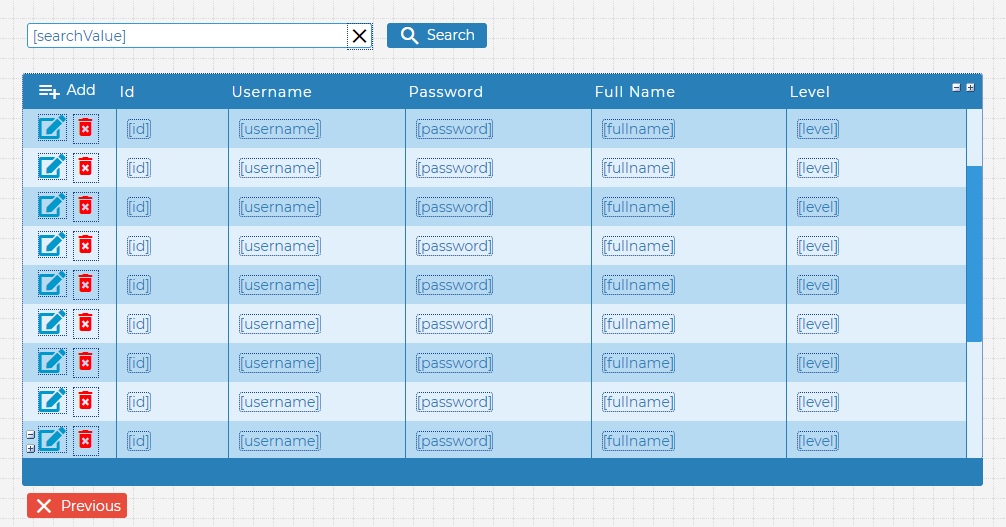
Users
The Users screen is for managing the system accounts. The Admin-level account can create other Admin-level users as well as users who are Agents.
Agents Screen
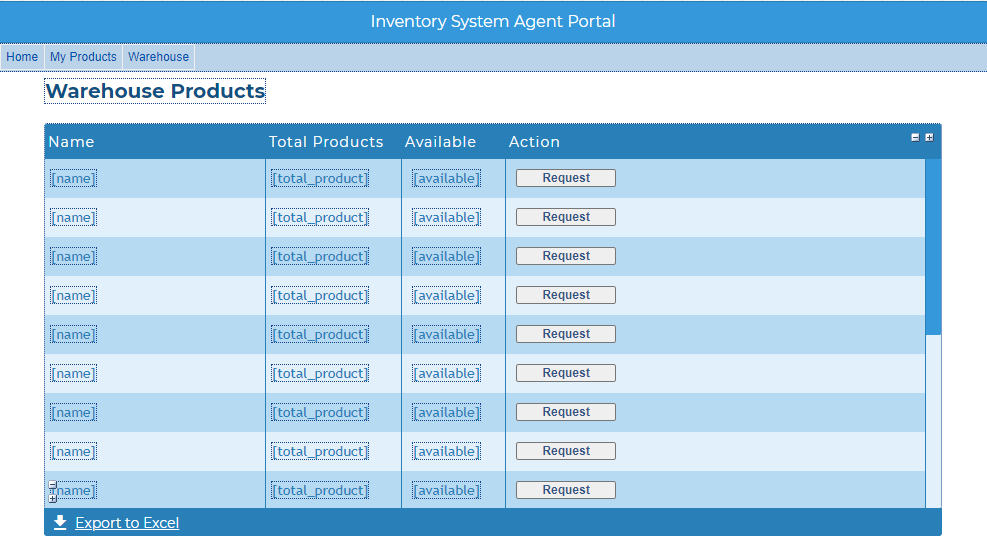
Users who are Agents can manage their resources through this dashboard. The first important screen shows the current Products that existing in the system and their availability. By using the Request button, an allocation request of a product will be submitted to the server for the administrator's approval.
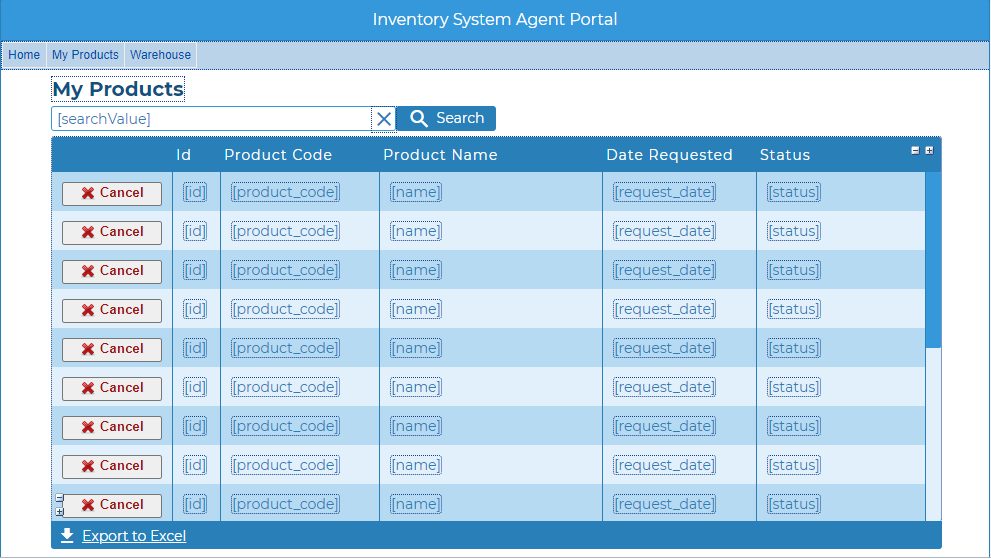
My Products
The My Products screen is a table of information to show the Agents their assigned products. Agents will be able to see the current status of their requests. They can cancel the pending request any time by clicking the Cancel button.
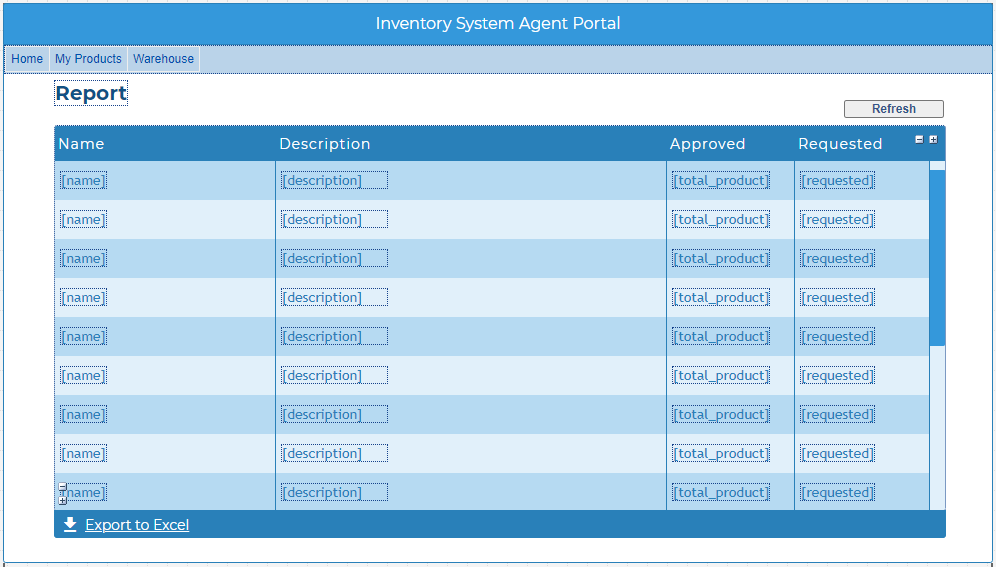
Report
The Agent's Report screen shows a general overview of the products standings. Users will be able to see from this page the total number of products approved and the pending product requests.
More Spaces By Profound Logic (@profound-logic)
This is a simple demo of Fibers! Fibers simplifies code by avoiding messy code known as "callback hell", "promises hell", or "async/await hell". Once Fibers is setup, you never have to think about callbacks or promises (they are handled automatically for you).
29764
0
5
25836
0
1
25001
0
1
27915
3
7
This workspace illustrates the basic setup of an HTML page that includes external JavaScript and CSS files
19985
0
5
Displaying information in grids is fundamental to developing applications. This demo application displays a list of products in a grid.
16022
0
1
24039
0
1
Comments
DylanSwift
8 months ago
It seems that this is unusable for testing as an example because of the login feature.